
Create is a short sequence to get you kickstarted on creating your next game or map. It sets you up with a series of basic settings that include, Terrain Height Mapping, Biome Application, Controls, and Camera settings.
Forming the Land[]
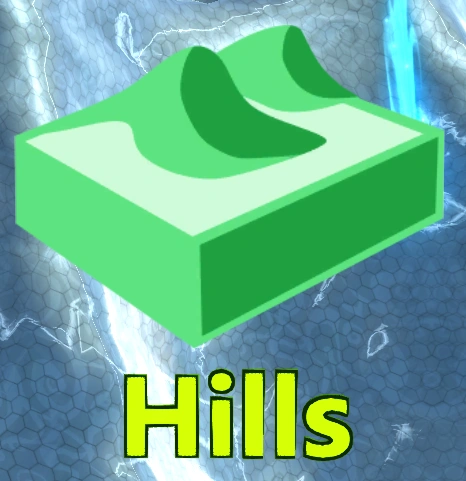
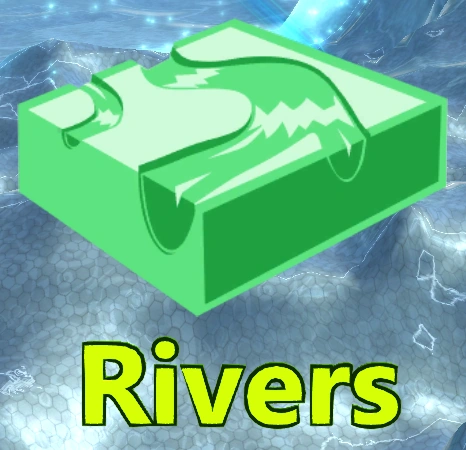
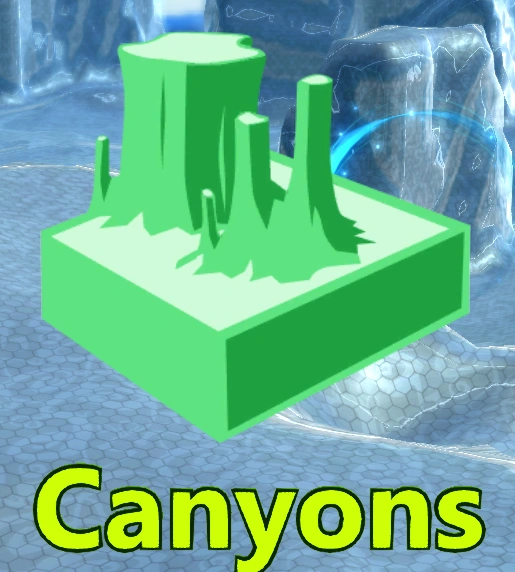
When Forming the Land the player is made to decide what kind of terrain is to be formed by the engine. Player's can choose from 4 predefined parameters, "Hills", "Rivers", "Mountains", and "Canyons". Hills tends to play out as the most reliable experience as it's generally a rather flat surface. When performing the rest of the Crossroads editing, complications often arise when the Player chooses anything other than "Hills" for a variety of reasons.
Additional settings can be set below using the D-Pad such as "Water Height", "Terrain Roughness", "Valley Height", "Hill Height", "Mountain Height", "River Width", "Land Height", "Valley Height", "Peak Height", and "Canyon Width".
| Type | Description | Effects | |
|---|---|---|---|
|
Hills | A basic world formation. Average terrain height, little to no water, little to no peaks, lots of space | A good sized world that forms quite evenly |
|
Rivers | A basic world formation. Average terrain height, cracks throughout the terrain to allow water, little to no peaks, average space | Caution: Errors can easily occur with pathing, object formation, enemy spawning due to jagged terrain formation |

|
Mountains | A deformed world. Erratic terrain height, little to no water, plenty of peaks, little space | Extreme Caution: Errors can easily occur with pathing, object formation, enemy spawning due to jagged terrain formation, placing Crossroads path can be exceptionally difficult through/up/around mountains |
|
Canyons | A deformed world. Erratic terrain height, water or no water, no peaks, average space | Extreme Caution: Errors can easily occur with pathing, object formation, enemy spawning due to jagged terrain formation, placing Crossroads path can be exceptionally difficult through/up/around high terrain |
"There's such depth to you spark"
Setting the Environment[]
When Setting the Environment the Player is made to decide which "Biome" that the game will generate for you. The "Biomes" are a collection of FX, Objects both interactable and not, sound FX as well as painting the terrain's "Peaks", "waterbed", "paths" and "basic terrain". Not all choices are immediately available to players, whereas only "Forest" is free. The rest of the content must be unlocked through the Marketplace.
Additional settings can be set below using the D-Pad such as "Water Height" (again), "Shore Material Height", "Peak Material Height", and "Nature Density".
| Type | Description | Marketplace Item | Token Cost | Credit Cost | Available Bundles | |
|---|---|---|---|---|---|---|
 |
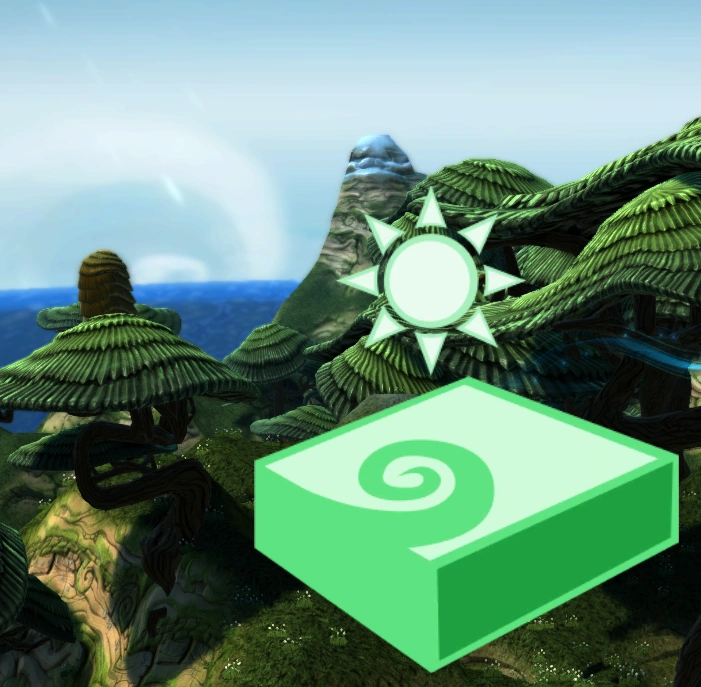
Forest | A standard Forest environment. Trees and grass cover the landscape. | n/a | n/a | n/a | n/a |
 |
Desert | A standard Desert environment. Sand, cacti and rocks. | Desert Dunes | 1,000 |
40,000 |
n/a |
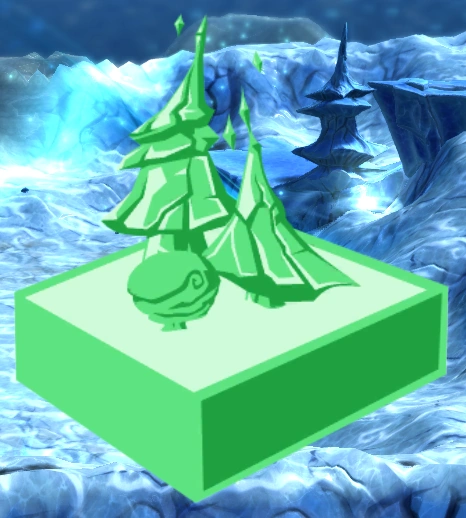 |
Arctic | A standard Tundra environment. Snow, ice, and frozen everything. | Arctic Glaciers | 1,000 |
40,000 |
Starter Pack Bundle |
 |
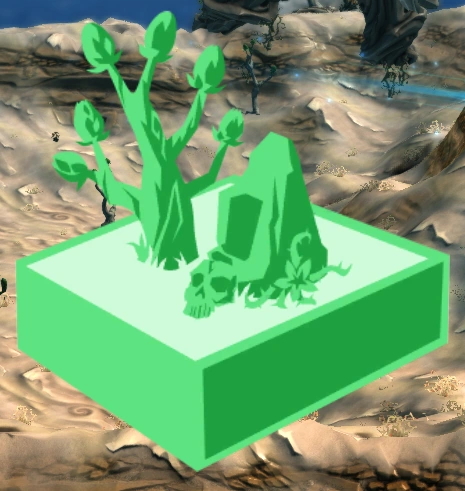
Alien Asteroid | A unique orange/blue dark environment. Lot's of weird orange things, very repetitive. | First Contact | 1,500 |
60,000 |
Starter Pack Bundle |
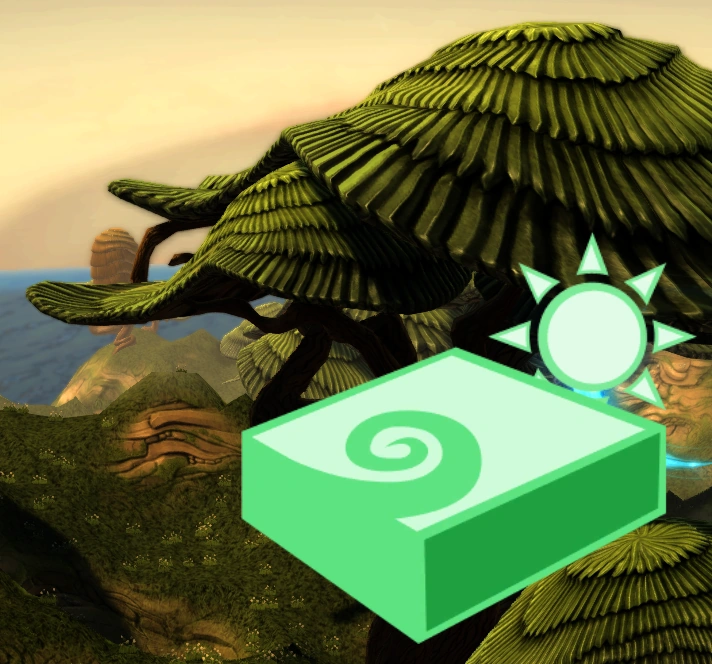
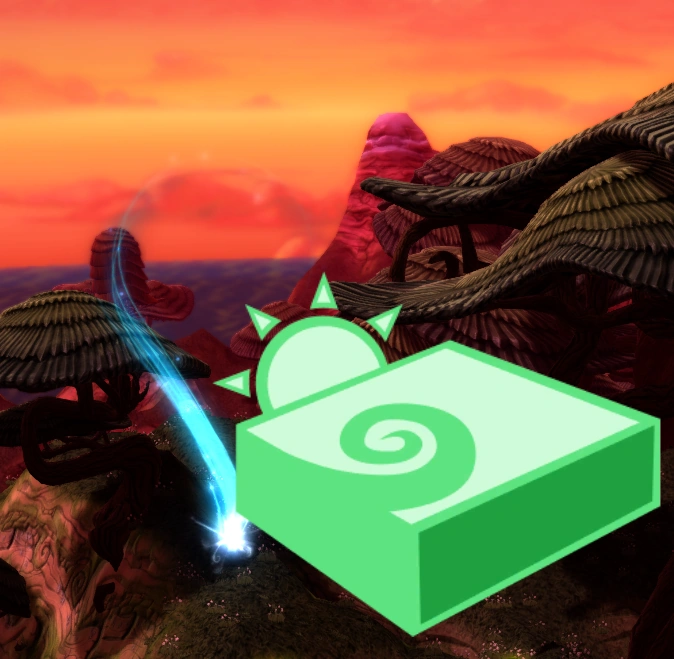
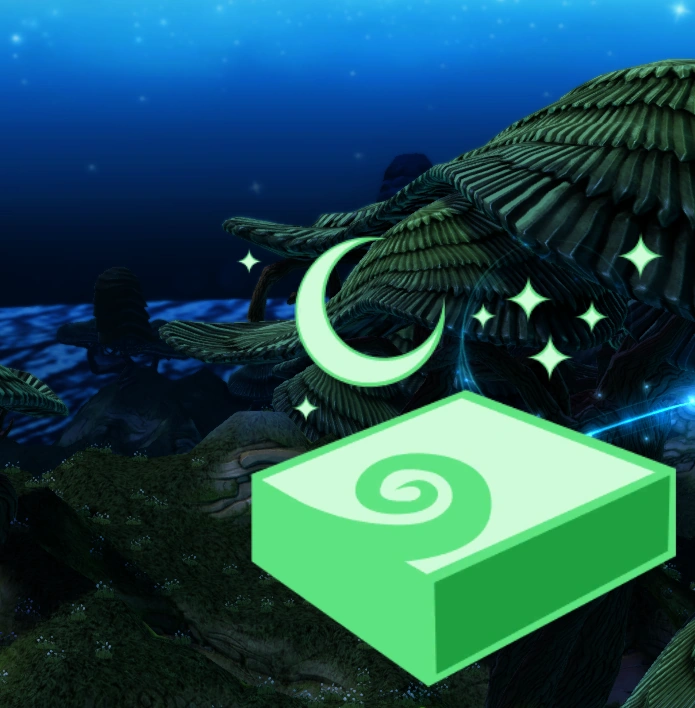
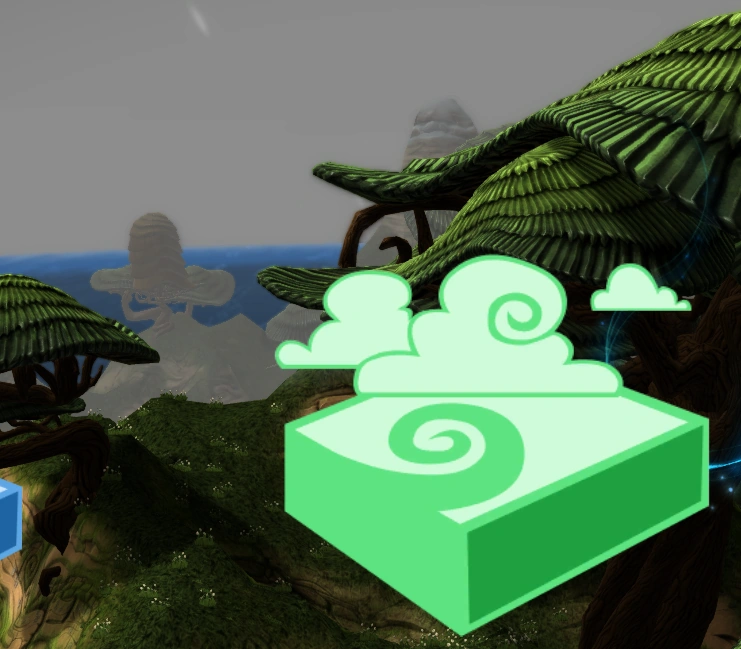
Lighting the Sky[]
When Lighting the Sky the Player is made to decide how the world will be lit. A few free choices are available to all players while the rest need to be purchased in the Marketplace (but come with previous packs).
Additional settings can be set below using the D-Pad such as "Sun Angle", "Sun Position", "Brightness", and "Visual Filter".
| Type | Description | Marketplace Item | Token Cost | Credit Cost | Available Bundles | |
|---|---|---|---|---|---|---|
|
Day | Bright standard lighting. | n/a | n/a | n/a | n/a |
|
Morning | A yellow/orange sunrise lighting. | n/a | n/a | n/a | n/a |
|
Evening | A red/orange sunset lighting. | n/a | n/a | n/a | n/a |
|
Night | Dark skybox with bright lighting. | n/a | n/a | n/a | n/a |
|
Overcast | Surrounded by dark fog. | n/a | n/a | n/a | n/a |
|
Starfield | Dark skybox with large bright stars. | "First Contact" | 1,500 |
60,000 |
"Starter Pack Bundle" |

|
Nebula | Surrounded by green fog, blue/green nebula skybox. | "First Contact" | 1,500 |
60,000 |
"Starter Pack Bundle" |
|
Stormy | Brown lighting, brown clouds in the horizontal distance with a black sky. | "Necromancer's Rise" | 900 |
36,000 |
n/a |
Creating the World
You will then enter into a short sequence where it creates your world for you. This can also be skipped.
The Hero Emerges[]
Players choose the type of character for which will be played in their newly created world. The choices vary and can be randomized. While some characters are free to choose from, others must be purchased from the Marketplace. The visual of the character is just that. It includes the texture and animation set. The settings and controls can be altered to allow any character to perform the same as each other.
Additional options can be selected by pressing Y which opens the Character Studio. The D-Pad can be used to adjust the Scale of the character.
Where does the hero start?
Select a location to place character object.
How do you want to play?
Another set of selections to assign Basic Controls and Basic Camera settings.
Once selected, you're immediately put into the world to test out all of the basic settings that were just automatically applied. This doesn't function very well and has no gameplay included yet. It is intended that you test the controls to get an idea of what you're working with. When you feel, you can pause and enter the menu and select "Edit" or "Edit from Here" where you can now begin using the full set of tools provided by the Editor.